I Turned My Handwriting Into A Font
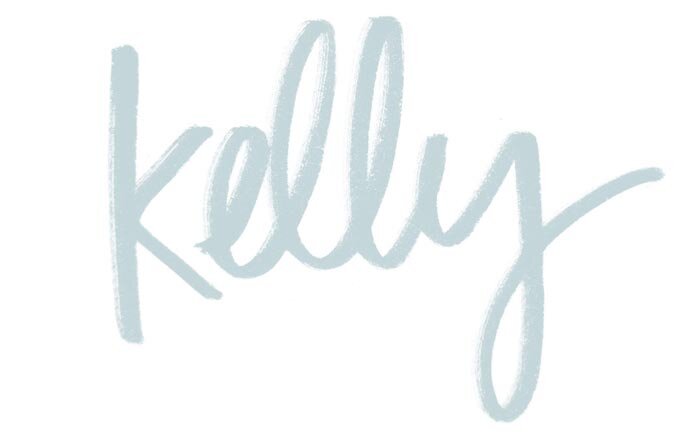
I love incorporating hand lettering into my designs, so making a handwritten font has been on my design bucket list for SO LONG. and I finallyyy did it!
Lemme give you some background... I LOVE including my handwriting in my designs. I think it gives a personal touch to branding, social media, quotes, etc. butttt tbh I get a little lazy now and then. I really wanted a font that looked like my handwriting, so I could use it without the hassle of pens, paper, writing, scanning, and all that. 🤷♀️
And so with that goal in mind, California Dreamin' was born after a lot of long hours in Illustrator and watching all the the Learn Fontmaking class videos on Every-Tuesday.com. Teela gives step by step videos and there’s a private Facebook group for questions and support.
It's that perfect mix of cute and cool, and a bit funky (I don't exactly know why I like my lowercase "r" to look like an uppercase one, but I just DO, ok?) It reminds me of the beach, and sunshine, and palm trees... and all I can hope for is that one day it saves you a little time when you don't feel like whippin' your pens out but you need a little of that California vibe. 🌴☀️🌊
Powered by Creative Market
STEP ONE
Literally write out every single letter and symbol in the alphabet. All the common combos too like ff, ll, etc. This was kinda fun! I started noticing letter patterns that helped form the basis of my font.
STEP TWO
Next I scanned everything in to my computer, and then tweaked in Photoshop a bit so that the letters were super crisp. This makes it easier once you bring them into Illustrator!
STEP THREE
I opened the scanned letters in Illustrator and used the “image trace” tool to vectorize them. Vectorizing is basically changing something from a photo image (pixels) to a shape (vector).
Then I went through each letter and made tweaks so that everything was lookin 💯.
STEP FOUR
Glyphs is a font making program that will assign each ‘shape’ created in Illustrator to an actual letter - so your keyboard knows what to show when you’re typing the font! I put in every letter, symbol, special characters, and even some ligatures.
Once everything was in there, I set the spacing too and then specific kerning for individual letter pairs.
STEP FIVE
Testing! I typed out the alphabet, different sentences, paragraphs, stuff in different languages… As I saw the font in use I made tweaks to certain letters or spacing that didn’t look right.
STEP SIX
Finally I created some fun graphics and put it up on Creative Market! (Psst, if you haven’t heard of Creative Market yet - it’s amazing! They have super cute fonts, graphics, and logo templates to use in your designs)
Click HERE if you’re interested in getting the font for your own projects. You’re gonna love it! Can’t wait to see your designs 🤗
👆 If you like the font, Pin this image! It helps me spread the word and makes me happy!


