How to Use SnapSeed to Edit Photos on Your Phone
Lately I've been on a mission to share some of my favorite photography techniques! I edit a lot of my images on my phone and SnapSeed is my favorite app!
This video is a walkthrough of the app, I'll show you where my go-to tools are and how to use different features.
It's just a quick tour so if you have more specific questions, let me know!
TOOLS PANEL

Once you open your photo, click the tools panel at the bottom to get to the good stuff! Here's a little breakdown:
Tune Image
Common image adjustments like brightness, contrast, and saturation.
Details
Edit Structure and Sharpening.
Curves
An advanced feature to edit the dark, mid, and light tones separately.
White Balance
Adjust the temperature or tint on your photo to fix the white balance.
Selective or Brush
Edit specific areas of the photo.
Healing
Cover up blemishes or spots.
Grainy Film
Add filters or grain to your image!
SWITCH BETWEEN TOOLS

Once you're in one of the tools (like Tune Image) swipe your finger up or down to access different adjustments.
In Tune Image you can adjust:
- Brightness
- Contrast
- Saturation
- Ambiance
- Highlights
- Shadows
- Warmth
Stop on the one you want to edit!
MAKE YOUR ADJUSTMENTS

Once you've selected the tool and adjustment you want to use. Swipe your finger to the left or right to edit.
Here I've selected brightness, so swiping to the right makes the image brighter. Swiping to the left make it darker.
SELECTIVE ADJUSTMENTS

To make selective adjustments to certain areas of the photo, click the "Selective" tool.
Tap to add a point to the photo and then drag two fingers in or out to make the area bigger or smaller. SnapSeed will automatically select similar colors close to the point.
The areas in red are the areas that will be affected by the adjustments!
Then, once you have the right area selected. It's the same as the other tools!
Move your finger up or down to switch between adjustments. Here you can edit:
- Brightness
- Contrast
- Saturation
- Structure
And then swipe left and right to edit each adjustment.
EXPORT & SAVE

Now that you have a beautiful image, it's time to save!
Click the "Export" button at the bottom right and you'll see a bunch of options.
Share
Share directly through email, messages, or some of your apps.
Save
Saves over the original photo (you can always revert to original later). This is helpful to prevent duplicates in your Photo Library.
Save a Copy
If you don't want to save over the original, you can save a copy. You can always edit this later in SnapSeed, but it will create a new image in your Photo Library.
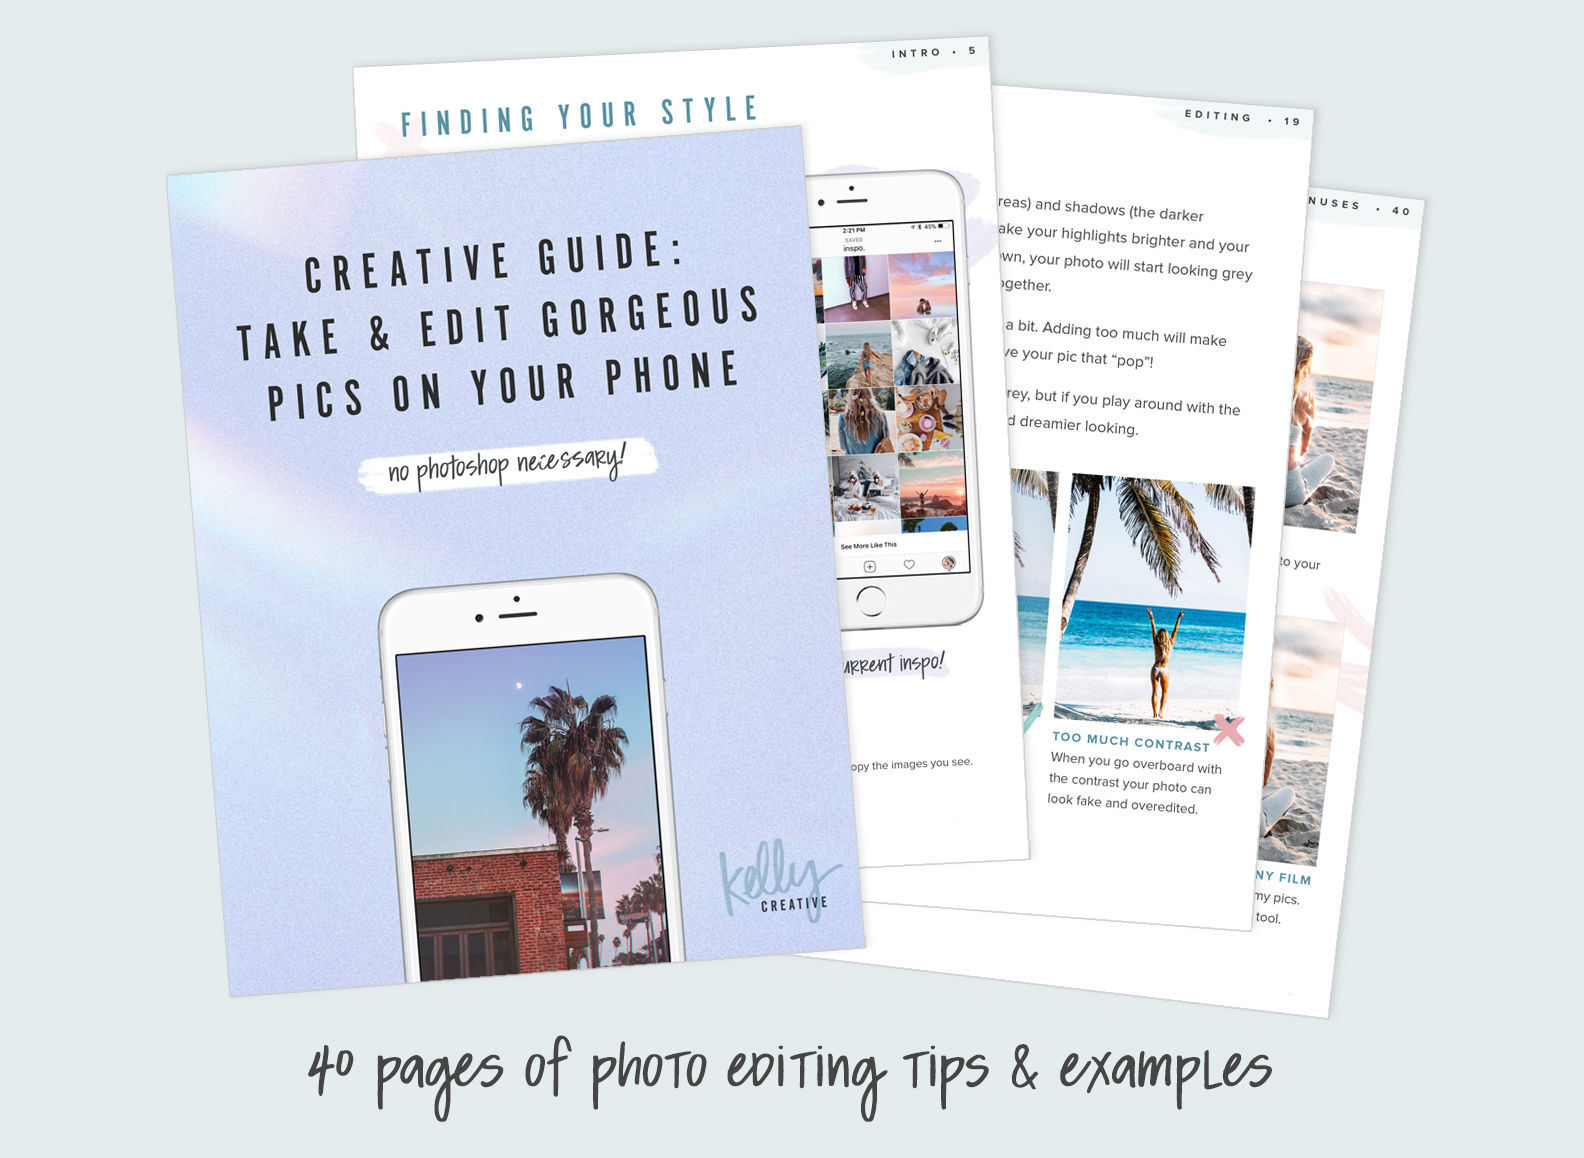
If you want to learn more about phone photography and the principles of editing, I created a guide that has all my editing tips! I breakdown each tool and give examples so that you can work with your photos to get the look you want!
I've been working on this guide for the past 8 months so I'm so excited to finally share it with you!! It's so helpful for any beginning photographer that wants to learn on their phone :)
👇 Pin It! 👇
